
Track revenue and custom conversions (revenue goals, multi-currency, offline conversions)
Send revenue and custom conversions to Wingify, convert multiple currencies into one reporting currency, and record conversions that happen offline.
The Wingify Guide can move a cursor on your screen inside the app and walk you through this, click by click (8 steps).
#When to use this
You want to know which variation earns more money, not only which one gets more clicks. Or you sell in several currencies and need all revenue in one reporting currency. Or a conversion happens outside your website, for example a trial user who signs a contract by phone. This guide shows how to send revenue and custom conversions to Wingify, how to handle multiple currencies, and how to record offline conversions.
With Data Platform, you track revenue with a custom event plus a metric. Legacy accounts without Data Platform use revenue and custom conversion goals, each with its own code snippet. Both options are covered below.
#Before you start
- The Wingify SmartCode is installed on the pages where the conversion happens, usually the "thank you" or payment confirmation page.
- A developer can add a JavaScript snippet to that page, or you can add it with a tag manager or the Pre-Campaign JS option of the Wingify Editor.
- Multi-currency tracking with computed properties requires a Data Platform-enabled Enterprise account.
#Steps
#1. Set your reporting currency and conversion rate sheet
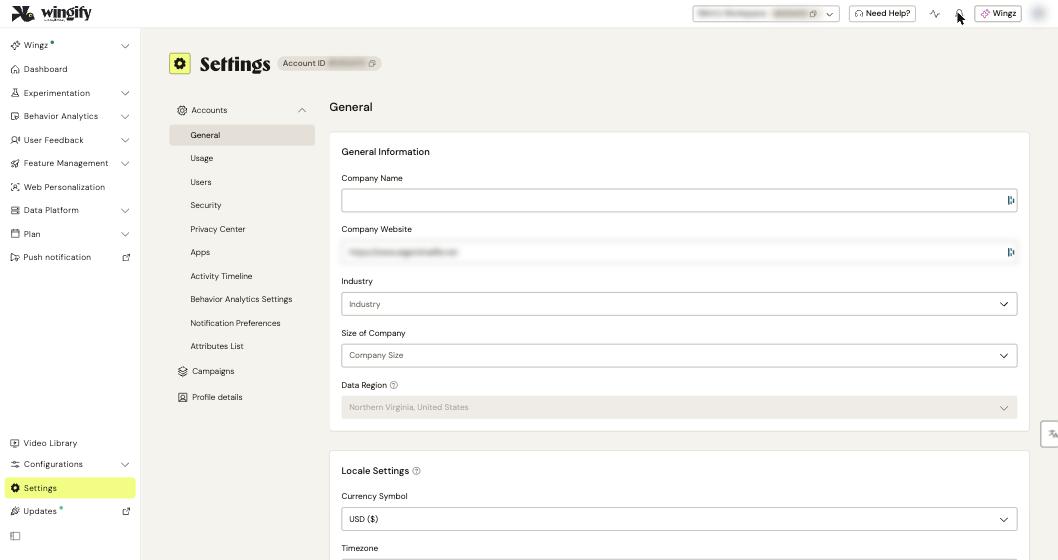
Click Settings > General. Under Locale Settings, check the Currency Symbol. Revenue metrics formatted as currency use this setting.
Under Currency Conversion Rate Sheet, Wingify provides the WINGIFY DEFAULT CONVERSION RATE file (sourced from Google Finance, updated daily at 00:00 UTC). Click Download to see its format. To use your own rates, click Add File and upload a CSV that keeps exactly the same column headers and structure. Click Save.
#2. Create a revenue event
Go to Data Platform > Events and click Create. Name the event (for example Track Revenue) and add properties:
- a Text property for the currency code (for example Currency Name),
- a Number property for the amount (for example Transaction Amount).
For multi-currency reporting, add one Computed number property per output currency (for example Revenue INR): select the currency property, the revenue property, the Output Currency, and a Conversion Rate sheet (the default one or the file you uploaded in step 1). Click Create.
#3. Install the event code on the confirmation page
Open the event to see its code snippet. Paste it on the page where the transaction completes and replace the placeholders (such as <number_value>) with your site's variables for amount and currency.
Warning: Don't send amounts with a comma. Wingify reads a comma as a decimal separator, so 1,500 becomes 1.5. Send 1500.0 instead.
If you prefer to convert in the browser, the help center provides a currency conversion snippet (convertToDefaultCurrency) that you place just above your revenue code, including a Shopify example that sends VWO.event("purchase", {...}). Update its rates yourself; they are not maintained by Wingify.
#4. Create a revenue metric
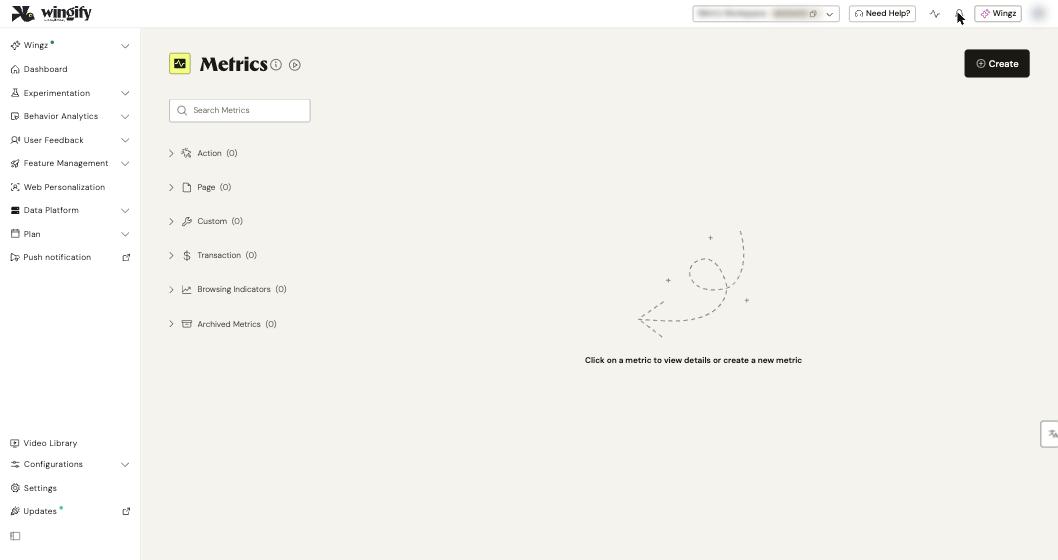
Go to Data Platform > Metrics and click Create. Enter a Metric Name, select your revenue event under Visitors event you want to track, and under Metric will calculate choose Value of an event property with the amount (or computed currency) property. First value is the default; choose Sum to count every purchase. Select Format this metric as currency, then click Create. The metric appears under Transaction.
Create one metric per currency if you want to compare currencies side by side (for example Track Revenue INR, Track Revenue USD).
#5. Track custom conversions
For a conversion that isn't a click, page visit or form submission (a hover, an AJAX success, a video play), create a custom event in Data Platform > Events, trigger its code where the action happens, and build a metric on it as in step 4, choosing Unique visitors or Event totals.
On legacy accounts without Data Platform, use goals instead:
- Revenue goal in a test: select Tracks revenue on, save, and add the generated snippet, replacing
REPLACE_THIS_WITH_ACTUAL_REVENUEwith your revenue variable. It calls_vis_opt_revenue_conversion(...). - Custom conversion goal: select Tracks custom conversion on. The snippet calls
_vis_opt_goal_conversion(<goal ID>)(or_vis_opt_register_conversion(<goal ID>, <campaign ID>)for a converted goal). Bind it to the event that should fire it, for example a link'sonclick. - To track several revenue goals on one page, call
_vis_opt_register_conversion(goalId, campaignId, revenue)once per goal. Find goal IDs in REVIEW > Configuration summary.
#6. Record offline conversions
- Create a custom event and a metric for the offline conversion, add the metric to a campaign and start it.
- Store the visitor's Wingify UUID from the
_wingify_uuidcookie (not_wingify_uuid_v2) with the lead in your CRM. Only visitors who became part of the campaign can convert. - When the deal closes, send a POST request from your server to
https://collect.wingify.net/events/t?en=<eventName>&a=<accountId>with the payload documented in the help center (msgId,visId,event.name,event.time,sessionId, and any event properties).
Note: For accounts on an EU or India data center, add the eu01 or as01 prefix to the path, for example https://collect.wingify.net/eu01/events/t?..., or calls are rejected.
#Check that it worked
- Complete a test purchase and watch the event arrive in Data Platform > Audit with the right amount and currency. See Check incoming events live with Audit.
- Use REVIEW > Live Preview on your campaign to confirm the metric fires.
- After launch, the revenue metric appears in the campaign Reports, and revenue metrics feed the Impact Dashboard.
#Common questions
Does Wingify count every purchase? Goals track unique conversions, so only a visitor's first purchase is counted. With metrics, First value does the same; choose Sum to include repeat purchases (Sum isn't available on the Growth plan).
Where do I find the conversion rate sheet later? Go to Settings > General > Currency Conversion Rate Sheet to download the default sheet or upload a new one.
Do I need code on my site? Yes. Revenue always needs a snippet with the real amount. If you can't edit the site, add it through a tag manager or Pre-Campaign JS.
How should I name events coming from another tool? Use [source].[Event Name], for example callrail.ctaClick. Event names can use letters, numbers, hyphens and underscores, with no spaces and 40 characters at most.
#Learn more
- How to Implement the Revenue Goals in Wingify
- How to Implement a Custom Conversion Goal in Wingify
- Tracking Multi-currency Conversions in Wingify
- Currency Conversion Snippet for Multi-currency Setup
- How to Track Offline Conversions Using Wingify Data Platform
- Working With Metrics in Wingify