
Track custom events and attributes
Create custom events and attributes in Data Platform, install their tracking code, and use them to target campaigns, build metrics and segment reports.
The Wingify Guide can move a cursor on your screen inside the app and walk you through this, click by click (4 steps).
#When to use this
Standard tracking tells you about page visits, clicks and form submissions, but not that a payment failed or that a visitor is on your Pro plan. An event captures something a visitor does (for example, "Payment Failed" with a "reason" property). An attribute describes who the visitor is (for example, "subscription_plan"). Once tracked, you can use both to target campaigns, create metrics and filter reports.
#Before you start
- The Wingify SmartCode is installed (web), or the Wingify SDK is initialized (Feature Management).
- You can add JavaScript to your site yourself, through a tag manager, or with a developer's help.
- For custom code to fire on web pages, at least one active campaign must run on those pages.
- Custom attributes are available on the Enterprise plan, with a maximum of 50. Check usage in Settings > Usage. Only Owners and Admins can add or edit attributes.
#Steps
#1. Check the standard events and attributes first
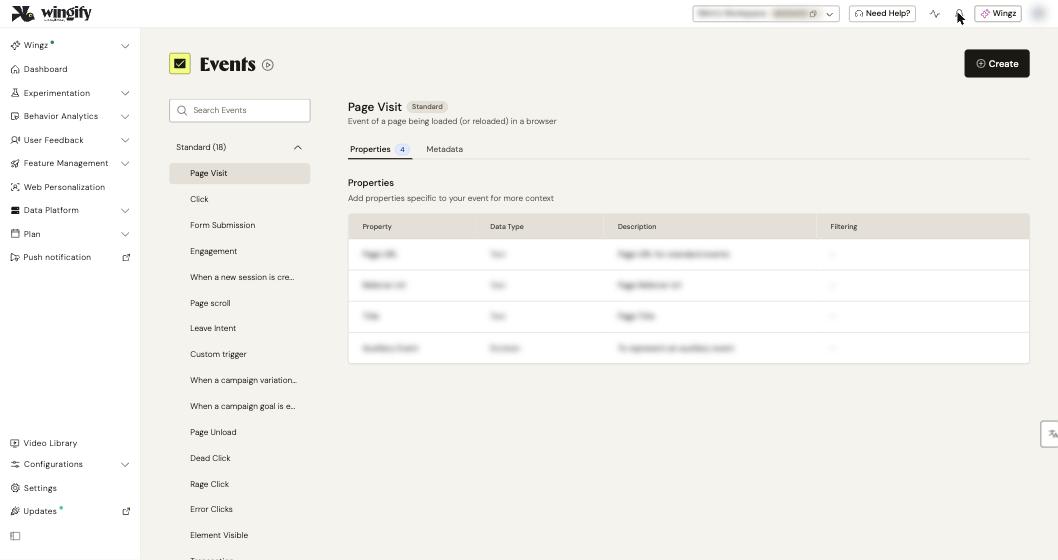
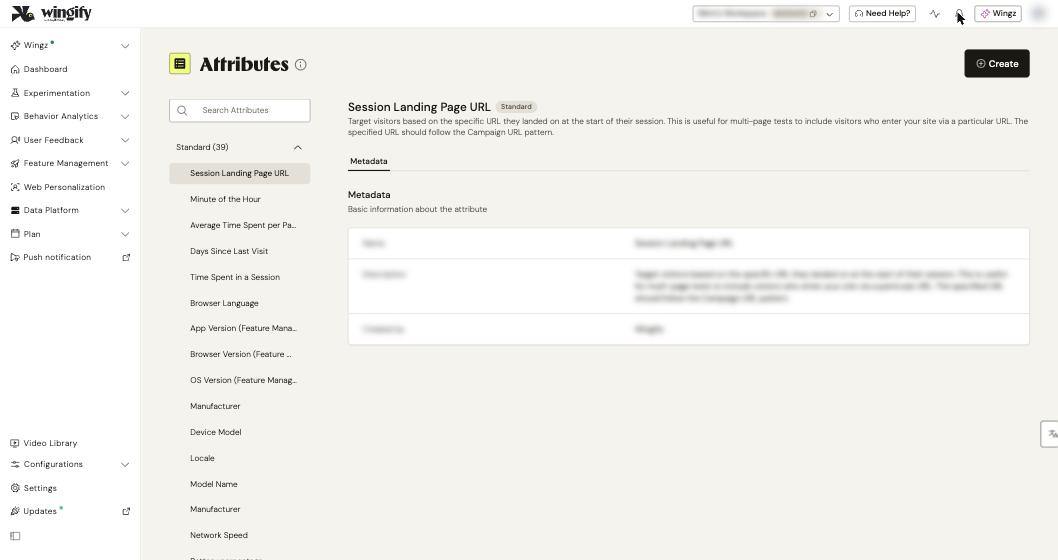
Go to Data Platform > Events. The Standard list includes predefined events such as Page Visit, Click, Form Submission, Page scroll, Leave Intent and Custom trigger. Data Platform > Attributes lists standard attributes that Wingify collects automatically, such as traffic source, browser, operating system and location. If what you need is already there, you don't need custom tracking.
#2. Create a custom event
On Data Platform > Events, click Create. Enter an Event Name, an API Name (pre-filled from the name) and a Description. Under Properties, add each property with a Property name, Default Type (Text, Number or Boolean) and API Name. Use Create New Property to add more, then click Create. The event appears under MY EVENTS.
Warning: Events and attributes can't be deleted, and their API names and types can't be changed later. Choose API names carefully.
#3. Create a custom attribute
On Data Platform > Attributes, click Create. Enter an Attribute Name, API Name, Data Type (Text, Number or Boolean) and Description, then click Create. It appears under MY ATTRIBUTES.
Note: Wingify automatically anonymizes data that looks like emails, card numbers, social security numbers, phone numbers or tokens. Use Data anonymization to add masking rules; use the unmasked list with caution.
#4. Install the tracking code
Click your event or attribute to see its code snippet, available for the web (browser) and for the Feature Management SDKs. Replace the placeholders with your real values and copy the code with the Copy Code icon. Add it to your site in one of these ways:
- Paste it into your code base.
- In the Wingify Editor, go to Code Editor > Campaign JS/CSS and paste it under Pre-Campaign JS (runs on campaign and metric pages) or Post-Campaign JS (campaign pages only). This code only runs while the campaign is running.
- In Google Tag Manager, create a Custom HTML tag with the snippet and choose a trigger (for example, All Pages or a button click).
For server-side and mobile apps, use trackEvent() and setAttribute() in the Feature Management SDK.
#5. Register anything sent without being created
If your site or an integration sends an event or attribute that doesn't exist in Wingify, it appears under UNREGISTERED EVENTS or UNREGISTERED ATTRIBUTES for 3 days. Open it to check Properties and Sample Values, then click Register Event or Register Attribute to keep it.
#6. Use your data
- Targeting: in a campaign, add a custom segment, pick your event or attribute, and set conditions. For events, click + where to filter on a property.
- Metrics: create a metric from your event in Data Platform > Metrics to track it in campaigns.
- Report filtering: in an A/B test report, go to All Visitors > Custom Segment.
In Feature Management, attributes are available only for report (post-) segmentation.
#Check that it worked
- Open Data Platform > Profiles, find a visitor who triggered the event, and check the Events timeline or the Attributes tab. See Look up a visitor's profile.
- If the event shows up under UNREGISTERED EVENTS instead of MY EVENTS, the API name in your code doesn't match the one you created.
#Common questions
Can I target an event that happened before I created it? Wingify captures all events in your campaigns by default, so you can create an event based on an action that already occurred.
What happens when I archive an event or attribute? It moves to ARCHIVED EVENTS or ARCHIVED ATTRIBUTES. Campaigns already using it keep working (with an "ARCHIVED" tag), but it can't be added to new campaigns. You can unarchive it at any time.
What does user scope vs. session scope mean for attributes? When you filter Funnels, Heatmaps or Session Recordings, User Scope uses the attribute's latest value for the visitor, while Session Scope uses its latest value within each session.
Which languages are supported for attribute values? Currently, English only.