
Govern feature flags: approval flows, integrations and tech debt
Require approval before feature flag rules go live, send flag data to your analytics and warehouse tools, link flags to Behavior Analytics, and clean up stale flags with Tech Debt.
The Wingify Guide can move a cursor on your screen inside the app and walk you through this, click by click (7 steps).
#When to use this
Your team now runs dozens of feature flags across Production, Staging and Development. You want a second pair of eyes on every production rule change, flag exposure data in GA4 or your warehouse, recordings of how users behave under each rule, and a way to spot flags from finished experiments that nobody removed. This guide covers those four governance tasks.
#Before you start
- Approval flow: Feature Management on the Enterprise plan, and the Admin role to change account settings. Approvers need Design access or higher.
- Behavior Analytics connection: Feature Management and Behavior Analytics both on Pro or Enterprise (Mobile Recordings requires Behavior Analytics Enterprise), plus SmartCode on your website or the Mobile Recordings SDK in your app.
- Tech Debt client: a Wingify API token and your Account ID.
#Steps
#1. Turn on review and approvals
Go to Settings > Campaigns. Under Approvals and Unpublished Changes, select Enable review and approvals on all your campaigns for this account. Choose up to four approvers; any one of them can approve, with no hierarchy.
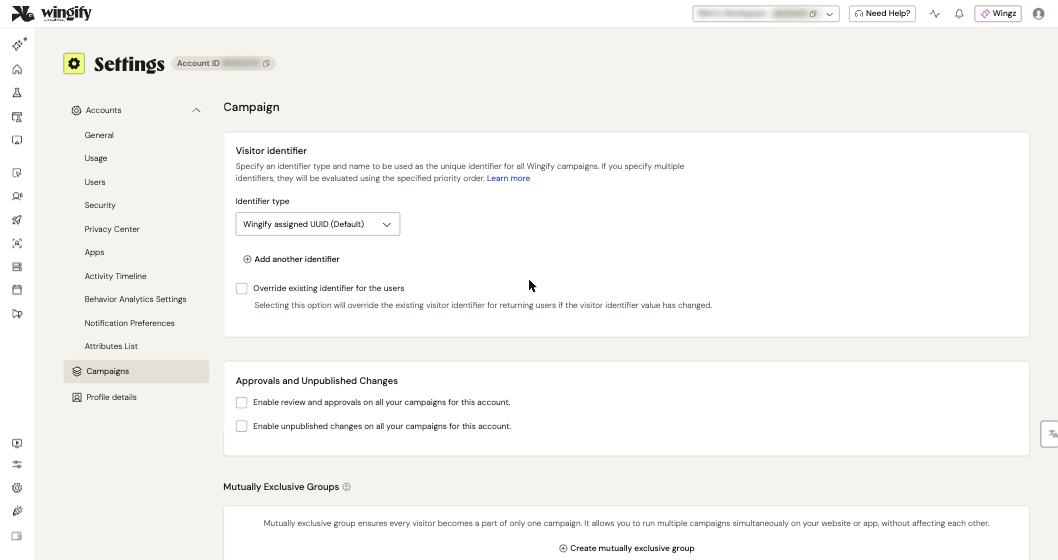
Two options switch on automatically:
- Bypass approval via Developer API: changes made through the API (for example, from CI/CD) go live without approval. Clear it if API changes must be reviewed too.
- Enable unpublished changes on all your campaigns for this account: required, because edits are saved unpublished until approved.
Set the Time frame for auto approval (default Never auto approve, or after one or two days) and click Save.
#2. Send a rule for approval
In a flag, open the Rules tab, create or edit a rule, and click Send for Approval. The rule shows Approvals pending and can't be toggled on; approvers get an email.
#3. Approve, request changes, then enable
An approver opens the rule and picks Approve (a comment is required) or Need Changes (a reason is required; status becomes Approval denied). The rule Timeline records who created, edited, sent or approved it; use @mentions and # to reference variations or metrics. After approval, the owner turns the rule on from the email (Enable Now) or with the rule toggle.
Warning: Approving doesn't make a change live. Someone must still enable the rule. Also, if Open Access is enabled on an environment, rules there bypass approval. Teams often keep Open Access for Development or Staging only.
#4. Send flag data to other tools
Feature Management integrates in four ways:
- Callback in SDK
init()(integrations: { callback(properties) {...} }): runs whenever a user is evaluated, with properties such asfeatureKey,userId,experimentKeyandexperimentVariationId, so you can forward them to GA4, Mixpanel, Tealium, RudderStack and others. - Cloud storage: export raw data to Amazon S3 or Google Cloud Storage.
- Warehouses: send data in table format to Snowflake or BigQuery.
- VS Code extension: browse flags by environment, toggle them and insert SDK snippets from your editor, using your Account ID and API access token.
See Integrations in Wingify Feature Management for setup pages.
#5. Connect flags to Behavior Analytics
Ask a developer for the one-time setup: implement setSessionId and setVisitorId on your website so the same visitor IDs are used in both products (see the interconnectivity setup guide). Afterwards:
- In Feature Management > Feature Flags, open a flag's rule, select Reports, and under Behavior Analysis choose Heatmaps, Session Recordings or Mobile Recordings, already scoped to that rule's visitors.
- In Behavior Analytics > Session Recordings or Mobile Recordings, open Visitor Segments > Custom Segment, select Feature Management under where, then the Environment, Feature Rule and Variations, and click Filter. In Heatmaps, use Campaign Filter > Select a campaign with Campaign Type set to Feature Management.
#6. Review Tech Debt
Go to Feature Management > Tech Debt. Feature Management detects and alerts you about unused flags so you can remove them from your code. Until there's something to report, the page shows "There are no recommendations yet."
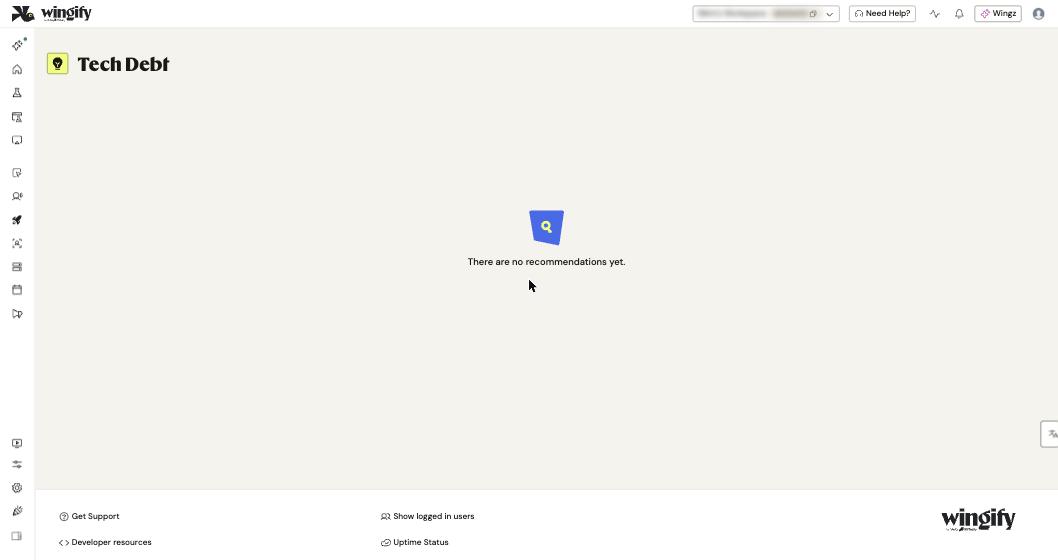
To analyze how flags are used in your source code, developers can run the open-source Tech Debt Client against a repository:
./tech-debt-client --sourceFolder=/path/to/source --accountId=123456 --apiToken=abcd123 --repoBranch=main --repoName=my-repo
#Check that it worked
- Create a rule in Production: it should stay off and show Approvals pending. Its Timeline should list Rule sent for approval and, later, Approved rule.
- After the Behavior Analytics setup, a rule report's Behavior Analysis section shows recordings. The header shows the share of participants included (for example, "Displaying recordings for 90% of participants") because recordings are sampled.
#Common questions
The Send for Approval button is missing. Why? The approval flow isn't enabled at account level. Enable it in Settings > Campaigns.
A rule was approved but nothing changed in production. Approved rules must be enabled manually. Turn the rule on from the Rules tab.
Recordings show no data for my rule. The visitor ID setup is missing or runs after the SmartCode loads, or the IDs don't match those used in your flag rules. Ask your developer to check both.
Can I use approvals in non-production environments? Yes, but most teams use Open Access for Development or Staging to iterate faster.
#Learn more
- Set Up Approval Flow for Rules in Feature Flags
- Configure Environment-Level Permissions using Open Access
- Integrations in Wingify Feature Management
- Track and Analyze Visitor Behavior Across Feature Management Campaigns
- Tech Debt Client
Help-center sources (7)
- Set Up Approval Flow for Rules in Feature Flags
- Configure Environment Level Permissions to Manage Feature Flag Rules using Open Access
- Integrations in Wingify Feature Management
- Track and Analyze Visitor Behavior Across Feature Management Campaigns
- Getting Started with Wingify Feature Management
- Wingify Feature Management Capabilities and Use Cases
- fme tech debt client