
Build variations and targeting with Wingz (incl. Figma import)
Use Wingz in the visual editor to create and remix variations from a prompt, turn a Figma frame into a variation, and generate segments and triggers with Copilot.
The Wingify Guide can move a cursor on your screen inside the app and walk you through this, click by click (6 steps).
#When to use this
Your designer has drawn a sticky countdown banner for next week's sale in Figma, and you want to A/B test it on your blog page, shown only to returning visitors from the United States. Rather than hand-coding the banner and building the segment rule by rule, you describe what you want to Wingz: it edits the page, reads the Figma frame, and turns your audience description into targeting conditions. You review and adjust everything before launch.
#Before you start
- A draft campaign that uses the visual editor (A/B, multivariate, Web Rollout or Web Personalization) with its Pages step filled in. See Build a variation in the Visual Editor or Code Editor.
- Wingz is included with paid plans. The Figma integration needs a Wingz Core or Advanced plan and a Figma account with access to the design file.
- Generating variations from Figma imports consumes Wingz credits, depending on how complex the requested changes are.
#Steps
#1. Launch the visual editor on your variation
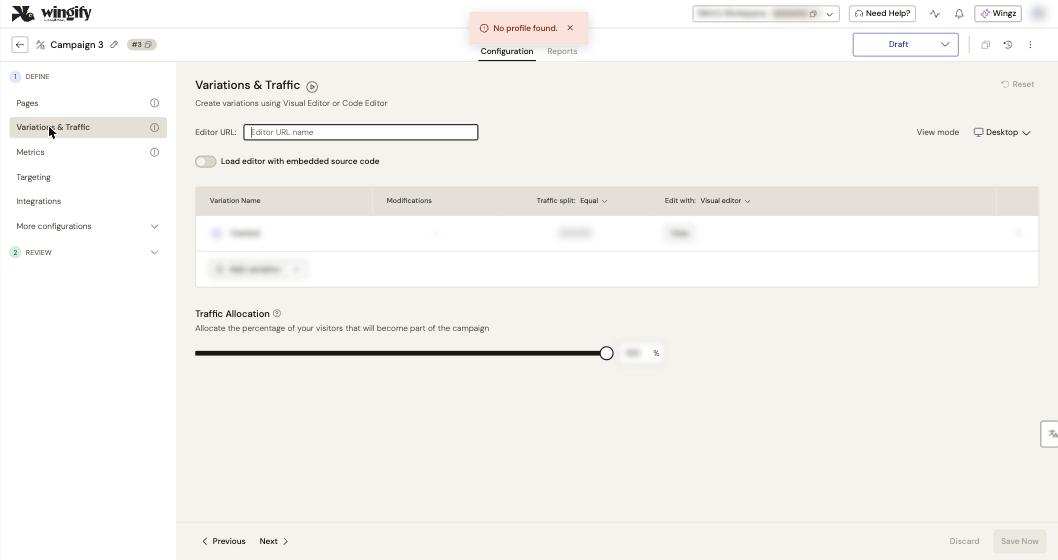
In the campaign, open Variations & Traffic, add or select a variation, and launch the visual editor.
#2. Ask Wingz to change an element
Click the element you want to modify, then select Wingz in the editor palette. Pick a suggested prompt or describe the change (for example, "Turn this paragraph into three short bullet points"); you can type or use the mic. Wingz generates three versions: click each to preview it. Before sending, click the wand icon to get three refined prompts and Apply Prompt on the best one. You can attach up to 4 files (such as brand colour guidelines), 20 MB in total. Click the Info icon to see why a change was suggested, or </> to see its code.
Note: Generating image variations requires a Pro or Enterprise plan of Web Experimentation, Web Personalization or Web Rollout.
#3. Get alternative copy for text
Click a headline, description or button text and choose Suggest Variations. Five suggestions appear at a time (up to 15 with LOAD MORE SUGGESTIONS) for texts of up to about 200 words. Click APPLY on the one you want, and use Flag as inappropriate for poor suggestions.
#4. Remix your first variation into more variations
Once your first A/B variation contains at least one change, click the magic wand icon next to it in the right panel. In Remix Your Variation, choose:
- Smart Variation Ideas: Wingz proposes alternatives based on the edits you already made.
- Guide with a Prompt: you describe the direction, for example "Add urgency to the CTA while keeping the tone friendly".
Preview the results, add the ones you like, and click Save and Continue. Keep the test to three or four variations. (This remix feature is documented for the classic Visual Editor in A/B tests.)
#5. Connect Figma (once per account)
In the visual editor's Wingz panel, or in Wingz Chat's Live Page Editor Canvas, click the Import Figma design icon below the prompt field. Click Continue to Figma, then Allow access. You return to the editor with Figma linked. The connection is account-wide, and one Figma account can be connected at a time.
#6. Turn a Figma frame into a variation
In Figma, right-click the frame or component (for example, the banner, not the whole page), select Copy/Paste as > Copy link to selection. Back in Wingify, click Import Figma design, paste the link in Enter Figma frame URL here and click Import design. Then type your instruction, for example "Implement a countdown timer banner at the top as per the attached design. Make sure it is sticky," and click Send.
Tip: You can also start from Wingz > Chat with a prompt such as "Create a new A/B test campaign for the blog page - wingify.com/blog". The Live Page Editor Canvas opens with the same Figma icon.
#7. Generate the segment with Copilot
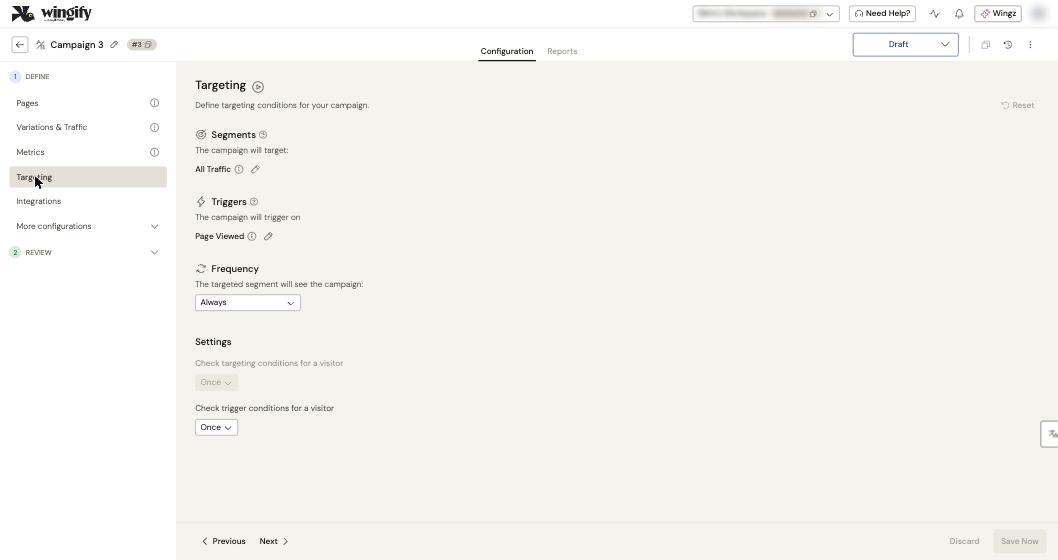
Open the Targeting step. Click the edit icon next to the segment (All Traffic by default) and select Copilot. Pick a suggestion or describe the audience, for example "Visitors from the United States who have viewed at least one product page". Refine it with the wand icon, attach supporting files if useful, then click Generate. Adjust with Edit and click Save Segment. You must save a Copilot-generated segment to use it.
#8. Generate the trigger the same way and save
Click the edit icon next to the trigger (Page Viewed by default), select Copilot, describe when the campaign should run (for example, "when the pricing table becomes visible"), click Generate and Save Trigger. Then click Save Now.
#Check that it worked
- Use Preview in the visual editor to interact with generated elements such as running timers or sticky headers.
- Read the Wingz chat response log: it lists each action taken, such as added sticky container or adjusted margins.
- Compare the live canvas with your Figma frame for colours and layout.
- In Targeting, check the saved segment and trigger conditions read as you intended.
#Common questions
The Import Figma design button doesn't appear. Your account needs a Wingz Core or Advanced plan.
Figma import fails with a rate-limit error or "node is too large". Copy a link to a specific frame or component rather than a full canvas, move the file to an Organization workspace, or give the connected user Dev access in Figma.
What's the difference between selecting an element and attaching a Figma link? Selecting an element sends the page's existing HTML to Wingz; a Figma link gives Wingz an external design to reproduce.
Can I edit what Wingz generated? Yes. Generated variations and Copilot segments can be refined manually before you save.
#Learn more
- Create Variations Effortlessly With Wingz
- Create AI-Powered Variations in A/B Tests using Wingz
- Use Figma Integration in Wingz Chat and Editor Next
- Using Copilot for Segments and Triggers
- Manage Wingz AI Credits
Help-center sources (7)
- Overview to Variation Creation and Configuration Using Wingz
- Create Variations Effortlessly With Wingz
- Create AI Powered Variations in A B Tests using Wingz
- Generating Copy Recommendations on Your Website using AI
- Use Figma Integration in Wingz Chat and Editor Next
- Overview to Targeting and Segmentation Using Wingz
- Using Copilot for Segments and Triggers