
Show personalized content to a segment
Create a Web Personalization campaign that shows tailored experiences to specific visitor segments and measures their impact against a holdback group.
The Wingify Guide can move a cursor on your screen inside the app and walk you through this, click by click (3 steps).
#When to use this
You want cart abandoners to see a 10% discount banner, loyal customers to see early-access messaging, and new visitors to see best-seller recommendations, all in one campaign. Web Personalization lets you build several experiences, define targets (visitor segments), and assign one or more experiences to each target. With Holdback, you keep a control group on the default page so you can measure the real lift from personalization.
#Before you start
- The Wingify SmartCode is installed on the pages you want to personalize.
- You know which visitor segments you want to target (location, device, new vs. returning, custom attributes, and so on). See Create a reusable segment.
- Holdback is available on Web Personalization and Web Experimentation Growth, Pro and Enterprise plans. Multi-target mode is Enterprise-only.
#Steps
#1. Open Web Personalization and create a campaign
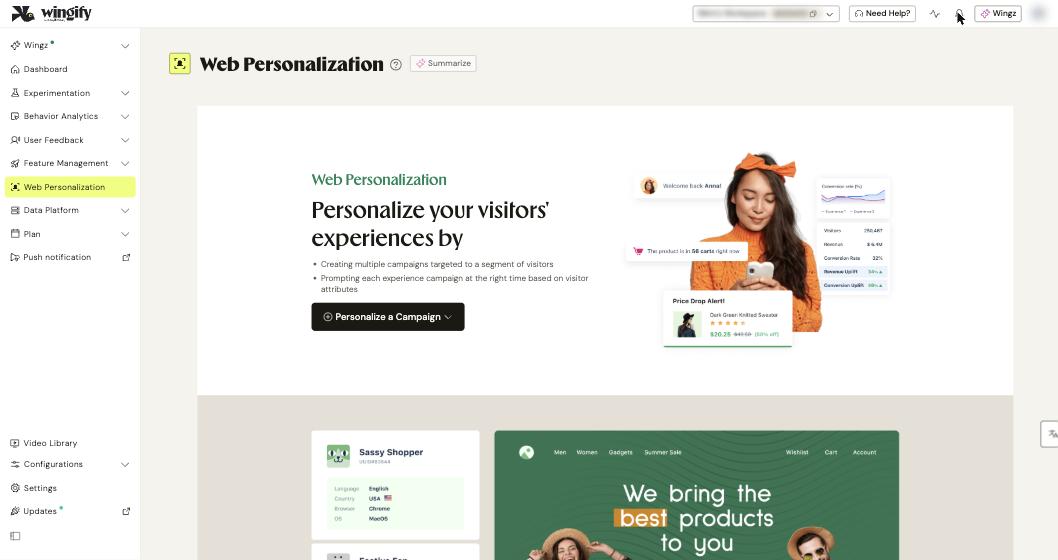
In the left navigation, click Web Personalization, then click Personalize a Campaign. A new campaign opens with a default name (Campaign [number]); click the pencil icon next to it to rename it.
#2. Define the pages
In the Pages step, enter the URL you want to personalize in Include pages where. You can use URL patterns (for example, https://example.com*) and list pages to leave out under Exclude pages. Use the URL validator to check that a given URL is part of the campaign, then click Next.
#3. Build your experiences
In the Experiences step, the campaign URL is used as the Editor URL by default. Choose Visual editor or Code editor from the Edit with dropdown and pick a View mode (Desktop, Mobile or Tablet). Click Add experience, save, then click Edit to build it in the editor. Repeat for each experience, then click Next.
Note: Experiences built in the Code editor can't be edited later in the Visual editor.
#4. Add targets and assign experiences
In the Targets step, click Add target. In the Create Target Audience panel, name the target, select the audience, and click Create. For each target, open Assign experiences and select one or more experiences, then use Traffic split to choose Equal distribution or Custom distribution.
Visitors who don't match any target are not part of the campaign. Target conditions are checked after any campaign-level segmentation.
Warning: A target's traffic split must total 100%. Targets that don't add up to 100% are disabled and excluded from the campaign.
#5. Turn on Holdback (optional)
Once you add the first target, the Holdback toggle appears. Enable it to reserve part of your traffic (5% by default, up to 50%) as a control group that always sees the default experience. Click the pencil icon to change the percentage. The same holdback value applies to every target.
Tip: Enable Holdback to measure the overall impact of personalization; leave it off if you mainly want to compare individual experiences.
You can only enable or disable Holdback before the campaign starts.
#6. Decide what happens when a visitor matches several targets
In Target Qualifications, under Tiebreaker for Multiple Qualifications, choose Random Selection or Priority. With Priority, drag targets into order; the visitor is assigned to the first matching target. On Enterprise plans, select Assess visitor eligibility for targets on each visit to re-evaluate targets on every visit (multi-target mode).
#7. Set metrics, campaign-level audience and integrations
In Metrics, add the metrics you want to track and set the conversion window (Campaign runtime by default). In Audience and Traffic, optionally restrict the whole campaign to a segment; by default, all visitors are included. In Integrations, push campaign data to or pull audiences from third-party tools. Under More configurations, set options such as scheduling, manual activation or mutually exclusive groups, and add notes and labels.
#8. Preview and start the campaign
Review your setup, then open the Previews tab. Pick an experience, keep or override the preview URL, and click Preview to open it in a new tab. You can select Ignore campaign targeting conditions in previews or Ignore experience targeting conditions in previews to check an experience without matching the segment. When everything looks right, click Start campaign.
#Check that it worked
- In preview mode, the Preview Mode debugger appears in the lower-right corner. Switch experiences from its dropdown and trigger a goal to see it logged under Logs for page visits.
- After the campaign collects data, open the Reports tab. Use Group By to view results by Experiences or Targets and, if Holdback is on, compare personalized traffic against the holdback group.
#Common questions
Is a visitor's target re-checked on every visit? Not by default. Wingify checks targeting once, sets a cookie and keeps serving the same experience. Enable multi-target mode (Enterprise) to reassess eligibility on each visit.
Can I change the holdback percentage after starting? Yes, you can adjust the percentage at any time, but you can't enable or disable Holdback once the campaign is live. Changing a running campaign may affect the accuracy of your results.
What's the difference between campaign-level and target-level segmentation? Campaign-level segmentation (in Audience and Traffic) is applied first to everyone who lands on the campaign URL; target-level conditions are then evaluated to pick the experience.
Can I edit targets after the campaign starts? Yes, from Configuration > Targets, but Wingify doesn't recommend it because it can skew results.