
A/B test your mobile app (iOS/Android)
Run A/B tests inside your iOS or Android app: with Feature Management mobile SDKs for new setups, or with the legacy Mobile App Testing flow (variables, campaigns, goals and mobile segments) for existing ones.
The Wingify Guide can move a cursor on your screen inside the app and walk you through this, click by click (6 steps).
#When to use this
You want to know whether letting users pay without signing in increases bookings in your app, or which onboarding length keeps more new users. Mobile A/B tests change values inside the app (text, booleans, numbers) for different user groups without shipping a new release for every test.
Wingify has two ways to do this. Mobile App Testing is the legacy product: it still works for existing accounts but is deprecated for new users, and its SDKs only receive critical fixes. Feature Management is its replacement and supports Android, iOS, React Native and Flutter with the same flags and rules as server-side projects.
#Before you start
- A developer who can add an SDK to your app and release a build.
- For the legacy flow: your account already has Mobile App Testing.
- For Feature Management: a feature flag with variables and at least two variations. See Create a feature flag and use it in your code.
#Steps
#1. Choose your path
If you're starting now, use Feature Management (step 2) and skip the legacy steps. If your app already runs Mobile App Testing campaigns, continue from step 3. For migration help, contact support@wingify.com.
#2. (New setups) Install a Feature Management mobile SDK
Android (API level 21 or later), in your Gradle dependencies:
implementation 'com.wingify.sdk:wingify-fme-android-sdk:<latestVersion>'
iOS (12.0 or later), in your Podfile, then run pod install:
pod 'Wingify-FME'
Initialize the SDK with your Account ID and SDK key, then create a Testing rule on your flag in Feature Management > Feature Flags. The code pattern (getFlag, isEnabled, getVariable, trackEvent) is the same as in Install a Feature Management SDK and evaluate your first flag; see the Android and iOS initialization pages.
#3. (Legacy) Register the app and copy its API keys
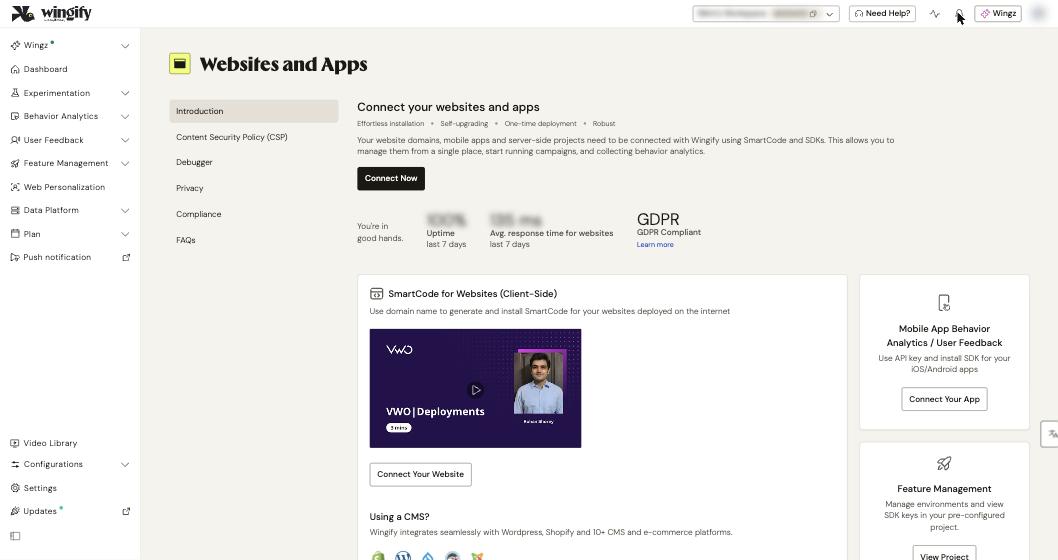
Go to Configurations > Websites and Apps and click Connect Your App. Enter the app name and click Add app. Wingify generates one API key for Android and one for iOS; Cordova, Flutter and React Native apps use either key. The app then shows an SDK tab and a Configuration tab.
Note: This API key applies only to A/B testing. Mobile Recordings uses its own key; see Record sessions in your mobile app.
#4. (Legacy) Install and initialize the SDK
Android uses Gradle:
dependencies {
    implementation 'com.vwo:mobile:2.16.1@aar'
    implementation ('io.socket:socket.io-client:1.0.0') {
        // excluding org.json which is provided by Android
        exclude group: 'org.json', module: 'json'
    }
}
Add the INTERNET and ACCESS_NETWORK_STATE permissions to AndroidManifest.xml, then launch the SDK in onCreate:
VWO.with(this, VWO_API_KEY).launch(new VWOStatusListener() {
  @Override
  public void onVWOLoaded() {
    // Wingify loaded successfully
  }
  @Override
  public void onVWOLoadFailure(String reason) {
    // Wingify not loaded
  }
});
On iOS, add the vwo pod to your Podfile with CocoaPods, run pod install, and call launchForAPIKey in didFinishLaunchingWithOptions in your AppDelegate.
#5. (Legacy) Create the variables you want to test
Open the app's Configuration tab. Under Variables, click Create Variable, give it a name (for example, askForLogin), pick a data type and enter the Default Value (the value used when no test runs). Click Create. The right panel shows the Java, Objective-C or Swift snippet, for example:
int speed = VWO.getIntegerForKey("speed", 5);
You can change a variable's name and default value later, but you can't delete it.
#6. (Legacy) Create the A/B campaign
In the Mobile App A/B section, open the Campaigns tab and click Create. Choose the app and platform, enter a unique campaign key in Define a campaign key, and click Next. Click Add Variable, select the variable and enter its value for each variation (for example, false for askForLogin). Click Next.
#7. (Legacy) Add conversion goals
Add at least one goal: Generates Revenue for purchases, or Trigger Custom Conversion for taps, screen views or other events. Trigger it in the app, for example VWO.trackConversion("conversionGoal");. Optionally fill in the Estimated Duration fields and choose Quick learning, Balanced or High certainty.
#8. (Legacy) Target a mobile segment
Under More Options, enable Enable campaign for a specific user group. Pick a Segment Gallery segment (iPhone/Phone Users, iPad/Tablet Users, New Users, Returning Users) or build a Custom Segment with Add Condition on Custom Variable, App Version, iOS/Android version, Day of Week or Hour of Day. Combine conditions with AND/OR; a preview appears on the right.
#9. (Legacy) Allocate traffic and start
Set the percentage of app users in the test, optionally enable scheduling or customize the split per variation, then click START NOW (or START LATER).
#Check that it worked
- Install a debug build, confirm the SDK loaded callback fires, and check that the variable value changes for users in the variation.
- For legacy campaigns, open the campaign from Mobile App A/B and view DETAILED REPORTS.
- For Feature Management, check the rule's report in Feature Management > Feature Experimentation.
#Common questions
Do I still need to register my app under Websites and Apps? Only for legacy Mobile App Testing. It isn't mandatory in Feature Management.
Can new accounts use Mobile App Testing? No. It's deprecated for new users; use Feature Management mobile SDKs.
What's the difference between New Users and Returning Users? New Users have never been part of any Wingify test in your workspace. Returning Users have been part of other tests but not this mobile app test.
Can I test several variables in one campaign? Yes. Add each variable with Add Variable and set its value per variation.