
Record sessions in your mobile app
Enable Mobile Recordings, set privacy and targeting options, integrate the Wingify SDK in your iOS or Android app, and replay sessions to find crashes, freezes and rage taps.
The Wingify Guide can move a cursor on your screen inside the app and walk you through this, click by click (3 steps).
#When to use this
Your app's checkout completion dropped after the last release, and crash reports alone don't show what users were doing. Mobile Recordings replay real app sessions (taps, double taps, swipes and scrolls), so you can see where users get stuck, which screen froze, or what happened just before a crash. You set it up once in Wingify, and a developer adds the SDK to the app.
#Before you start
- Mobile Recordings is available on request. Contact your account manager or Wingify Support to enable it.
- You need a developer who can add the Wingify SDK to your iOS or Android app. See the Mobile Insights developer reference.
- Recordings are collected from sampled users. Quota is consumed per sampled visitor per month, however often they return.
- Update your app's privacy policy to name Wingify as a third-party service provider, and give users a way to opt out. See Mobile App and Data Handling.
#Steps
#1. Open Mobile Recordings
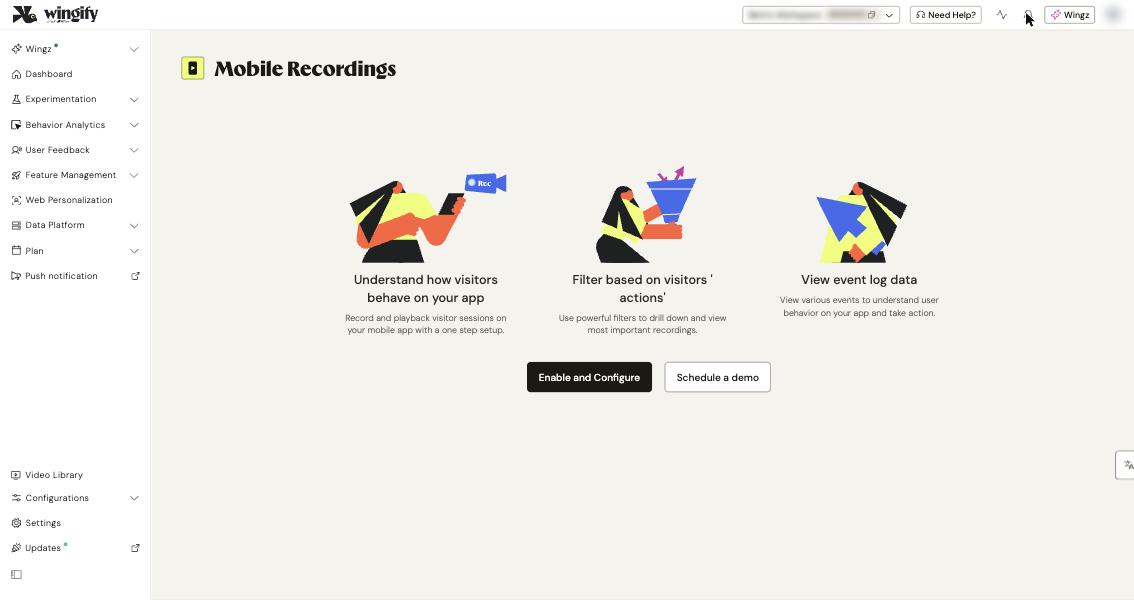
Go to Behavior Analytics > Mobile Recordings and click Enable and Configure. To come back to the settings later, click I'll do it later. You can open them at any time with the ⚙ icon.
#2. Choose what to record
In the configuration panel:
- Anonymize all key presses – always on; key presses are hidden on the SDK side and never reach Wingify.
- Record app's state of nonresponsiveness – records sessions where the app is unresponsive for more than 5 seconds (on by default).
- Record application crashes – records sessions that end in a crash (on by default).
- Exclude elements/sections from screen recording – hide a whole Screen, or only elements on it by Tag, View (for example
input,button) or Text. If you name a screen without a tag, view or text, the whole screen is excluded. - Target specific visitor group for screen recordings – record only some users, for example Phone Users, New Users, or a custom segment by App Version, Operating System, Network Speed and more.
Click Save and Enable (or Save if you're editing later).
Warning: When excluding by Tag or Text, make sure the value doesn't also match elements you still want to see, because every match is hidden.
#3. Integrate the SDK in your app
Click ⚙, go to the SDK key area, and copy the API key (for example, the Android API Key). Give it to your developer, who adds the Wingify SDK to the app's source code following the developer reference. Developers can also use the start and stop recording APIs to record only specific screens.
Note: Your app can also be registered under Configurations > Websites and Apps with Connect Your App. If you're unsure which key to use for recordings, use the one shown in the Mobile Recordings settings, and see Registering Your Website and Apps.
#4. Start data collection
Once the SDK is in your app, click Start data collection. If you skipped the configuration, the default settings apply. To stop later, click Pause data collection > Yes, Disable Recordings.
#5. Filter the recordings
Use Date Filter (last 30 days by default; you can also set exact start and end times) and Visitor Segments:
- Standard Segments – Mobile Traffic, Tablet Traffic, New Visitors, Returning Visitors.
- Custom Segment – attributes like App Version, iOS Version, Android Version, Manufacturer, Screen Count, and events like Screen Viewed, App Crashed, App Not Responding, Network Change and Orientation Change.
To follow a path, click Add sequence of events, for example product screen, then cart, then a checkout screen marked as didn't happen. Click Filter.
#6. Replay, save and share
Click Play on a recording. In the player, change the speed, skip pauses or jump with the seek bar. A tile lists the user's other recorded sessions. Use ⋮ to save, delete or share a recording, or select several with the checkboxes and click Save or Delete. Saved recordings appear under Saved Recordings and are kept beyond your retention period. Share Report shares all recordings in view-only mode.
Tip: For a bird's-eye view, open Behavior Analytics > Dashboard and select Mobile apps in the third filter. It shows the % of sessions with rage taps, ANRs and crashes, broken down by Screens and App Versions.
#Check that it worked
After the SDK is live and data collection has started, open the app yourself and use it for more than 5 seconds. If your session is sampled, it appears in the list with its location, screen count, duration, device and OS. The header shows the total Sessions and Screens recorded and the data collection status.
#Common questions
How long is a recording? Up to 2 hours per session; anything longer continues in a new recording. A session also ends after 30 minutes of inactivity or when the app is closed.
Why don't I see a short session? Users must spend at least 5 seconds in a session for it to appear. Only sampled users are recorded.
How long are recordings kept? They follow your plan's data retention period. Saved recordings are kept until you delete them, up to your plan's save limit.
Do I need an App Tracking Transparency prompt on iOS? Not for Mobile Recordings. It doesn't use the iOS advertising identifier (IDFA).
Can I filter by my own Data Platform events? Custom events under My Events are available on request. Contact Wingify Support to enable them.