
Roll out or A/B test a feature server-side
Add rollout, A/B testing and personalization rules to a feature flag to release a feature progressively, measure its impact and ship the winner.
The Wingify Guide can move a cursor on your screen inside the app and walk you through this, click by click (5 steps).
#When to use this
You've built a new checkout flow behind a feature flag. You want to release it to 10% of US mobile users, raise that to 100% over three weeks, and roll back automatically if the error rate spikes. Or you want to compare two search algorithms with a proper A/B test and ship the winner without a code change. In Feature Management, you do all of this with rules on the flag: Rollout rules, Testing (A/B) rules and Personalize rules.
#Before you start
- A feature flag exists, with variables, variations and metrics, and the SDK is initialized in your app. See Create a feature flag and use it in your code.
- For A/B tests, the flag has at least two variations and a primary metric.
- You have permission to create and publish rules in the target environment.
#Steps
#1. Open the flag's Rules tab and pick an environment
Go to Feature Management > Feature Flags, open your flag and click the Rules tab. Choose the Environment: Production (live users), Staging or Development.
#2. Create a rollout rule
On the Rollout tab, click Create new Rollout rule. Enter a descriptive rule name (for example, "New Dashboard - Phase 1 (10% US Mobile)") and an optional description. Then:
- Audience targeting: target users by attributes (user IDs, location, device type and so on), custom attributes sent by your SDK, or whether another feature flag is on for them.
- Allocate traffic percent: set the share of that audience who get the feature.
- Force specific users to this experience (optional): list user IDs who always, or never, get the feature.
Note: Browser, OS and Device Type segments only work if your app passes these details to the SDK as custom attributes.
#3. Automate the rollout (optional)
Under the automation settings, add Time-Based Automation steps (for example, 10% on day 1, 30% a week later, then 60% and 100%) or Metric-Based Automation conditions (for example, roll back to 0% if the error rate exceeds 0.5%). You can combine both.
In advanced settings, set a Salt Value so users stay consistently bucketed, and Enable Scheduling to start, pause or end the rule at set times.
#4. Measure the rollout's impact (optional)
Switch on Analyze impact of this feature below your rollout rules. Wingify compares Flag On and Flag Off users on your metrics. Click View report to open the [Flag Name]: Impact Analysis Report.
Warning: Impact analysis tracks 100% of evaluated users (including the held-back baseline), so it uses much more quota than the rollout alone.
#5. Create an A/B testing rule
On the Testing & Personalize tab, click Create new AB Testing rule. Enter a Test Name, optional Description, and optionally link a Hypothesis from Plan. Define the target audience, select the variations to include, and distribute traffic with Equal Distribution, Custom Distribution (must total 100%) or Auto-distribute (Multi-Armed Bandit).
#6. Configure the test's advanced settings
Choose a Testing Approach (Fixed Horizon, Sequential Testing or Dynamic Testing) and, when comparing several variations, Apply Bonferroni Correction. Optionally select:
- Pause rule after conclusion, to stop once a winner is declared.
- Auto Deploy Winning Variation (Pro and Enterprise), to create a Personalize rule named Auto Deploy - [test name] that serves the winner, placed above the test.
Enter a Salt Value for sticky bucketing, then save.
#7. Order and activate your rules
Rules are checked top to bottom, and the first matching rule wins; drag rules to reorder them. A user must pass an enabled rollout rule before testing or personalize rules apply. Make sure both the flag and each rule are Running.
Tip: To show a specific variation to a segment rather than test, use Create new Personalize rule. Each Personalize rule maps one audience to one variation.
#8. Monitor results
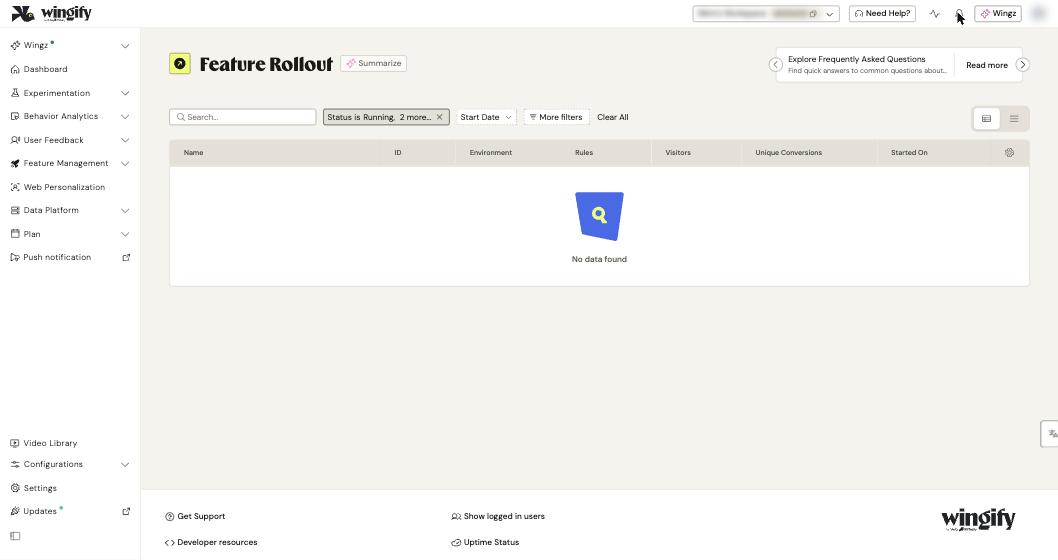
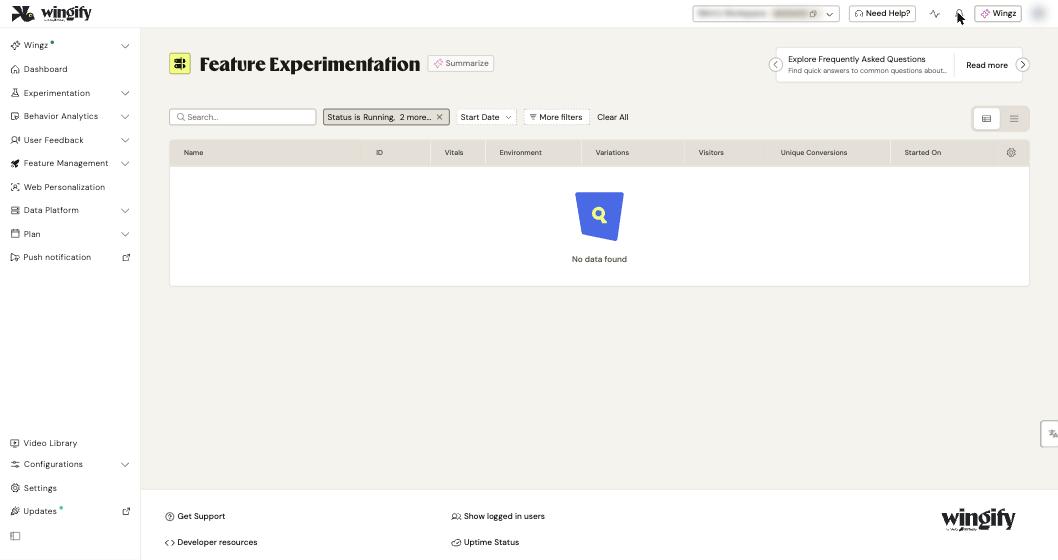
Go to Feature Management > Feature Rollout to see rollout campaigns (Environment, Rules, Visitors, Unique Conversions, Started On), or Feature Experimentation for A/B tests, including the Vitals column that flags tracking or setup issues. Click a row to open its report.
#Check that it worked
- Force your own user ID into the rollout or into a variation, call
getFlag(), and confirm your app shows the expected behavior. - Check that Visitors starts increasing in the Feature Rollout or Feature Experimentation listing, and that Vitals shows no issues.
- If nothing appears, confirm the SDK initializes before the flag check, the
userContextcontains the user ID and needed attributes, and both flag and rule are running.
#Common questions
What's the difference between a Rollout rule and a Testing rule? A rollout rule controls exposure: it gradually releases a feature to more users. A testing rule compares variations on metrics to find the best one statistically.
My test has a winner but no Auto Deploy rule appeared. Why? Creation is triggered either by a background job or when someone views the completed test's report. Also check that you saved the setting before the test started. Auto Deploy works only for A/B testing rules, not multivariate.
Why do users see different variations across sessions? Use a stable user ID in userContext and set a consistent Salt Value on the rule.
Can I change a running experiment? It's not recommended: changing traffic, variations or the primary metric can invalidate data. Stop it and start a new one instead.