
Find where visitors abandon your forms (Form Analytics)
Track a form field by field to see how many visitors start it, where they hesitate or refill, and which field makes them drop off.
The Wingify Guide can move a cursor on your screen inside the app and walk you through this, click by click (3 steps).
#When to use this
Plenty of visitors open your demo-request form, but few submit it. The overall conversion rate doesn't tell you whether the phone field scares people off or the company-size dropdown confuses them. Form Analytics tracks every field so you can see where visitors hesitate, go back to change what they typed, skip a field, or give up entirely.
#Before you start
- The Wingify SmartCode is installed on the page that contains the form.
- The
<form>tag has an ID, a name, or a CSS selector you can target. Each field needs a name or ID too (see Common questions if it doesn't). - Submissions are tracked through the form's submit event. For forms submitted with AJAX, plan for a small code change (step 5).
#Steps
#1. Open Form Analytics
Go to Behavior Analytics > Form Analytics. If you haven't tracked a form before, click Start Tracking your Forms. Otherwise, click Create.
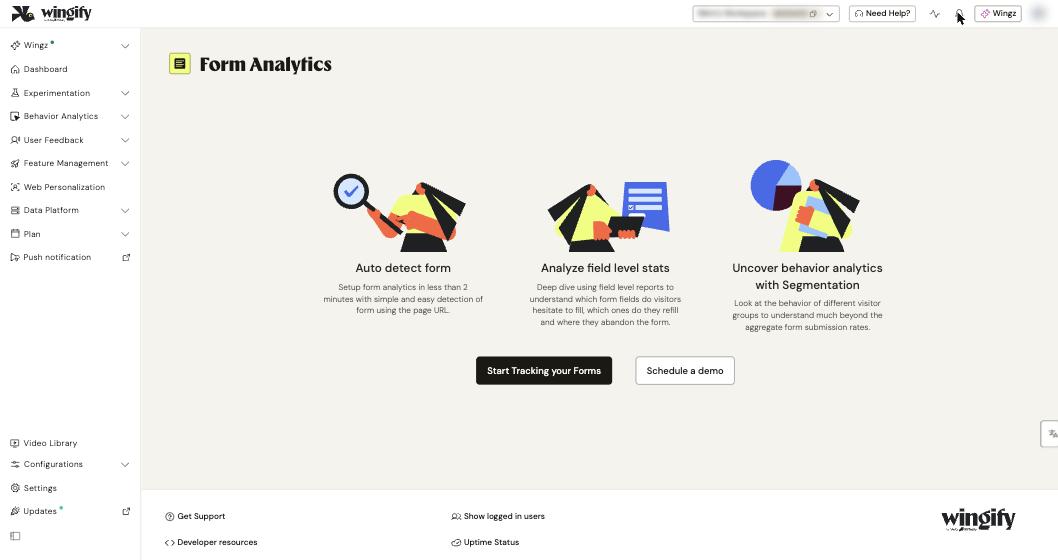
Note: Older help articles call this page Behavior Analytics > Forms. It's the same feature.
#2. Select the form to track
Rename the campaign with the edit icon next to New Campaign, then choose how to find the form:
- Auto-detect using a page URL – enter the page URL; Wingify fetches all forms on it and you pick one.
- Manual setup using Form name or ID or CSS Selector – enter the form's name, ID or CSS selector yourself. See How to Find Form Name or ID or CSS Selector.
#3. Define where and for whom to track
In Enter URL(s) where you want to track the form, add the page(s) where the form appears. Use Include URL and Exclude URL for patterns and wildcards. To track only some visitors (for example, mobile visitors from one country), enable Enable campaign for a specific visitor group and define the segment. Under Advanced Options you can schedule when tracking runs, pauses or stops.
#4. Create and start tracking
Click Create. Back on the Form Analytics dashboard, find your form (use Search campaigns or the Filter By Status panel) and click START NOW. You can later PAUSE, Archive or move it to Trash from the toolbar.
#5. Report success for AJAX or dynamic forms (if needed)
If your form submits without a page reload, tell Wingify whether each submission succeeded. In the form's success callback, add:
window.Wingify = window.Wingify || [];
window.Wingify.push(['nls.formAnalysis.markSuccess', formInstance, 1]);
Use 0 instead of 1 in the error callback. formInstance is your form element, for example document.getElementById('my-form-id'). You can deploy this through a tag manager.
#6. Read the report
Select your form and open the View Report tab. Filter with Date Filter (last 30 days by default) and Visitor Segments (standard, custom or saved segments).
- Conversion Funnel Report – how many visitors landed on the form, interacted with it, and clicked submit.
- Field Statistics – per-field data for the 20 most-used fields:
- Total Time – interaction time plus hesitation time.
- Interaction Time – time spent typing in the field. Long times can mean unclear prompts or validation errors.
- Hesitation Time – time spent idle on the field before typing. High values suggest the field isn't clear.
- Refilled – % of visitors who came back to change their entry.
- Ignored – % of submitters who left the field blank or unchanged.
- Dropped – % of visitors who left while on this field, with a drill-down per field.
Tip: Once you know which field loses people, filter Session Recordings to visitors on that page to watch what happens at that field.
#Check that it worked
Your form appears on the Form Analytics dashboard with the Running status (the default filter). After some visitors reach the page, the View Report tab shows landed, interacted and submitted counts. If submissions stay at zero while you know people submit, your form probably submits via AJAX (see step 5).
#Common questions
My form has no ID or name. Can I still track it? Yes. Add nls_fa_name="form-name" to the <form> tag, then choose Manual setup using Form Name or ID or CSS Selector, select CSS Selector, and enter form[nls_fa_name="form-name"] using your actual value.
A field has no ID or name. What do I do? Add the nls_fa_el_name attribute to the field, for example <input nls_fa_el_name="number1">. Wingify then reads interactions on it.
The same field has different IDs for different users. How do I combine them? Give each variant the same nls_fa_el_name value. Wingify then reports them as one field.
Why are some fields counted as "Ignored" when the form failed? Entries in failed submissions (for example, validation errors) are also treated as ignored. Use the markSuccess API to tell Wingify which submissions succeeded.
Are repeat visits counted? Yes. Visitors are tracked every time they land on the tracked URL, and multiple visits and conversions per visitor are recorded.
#Learn more
- Setting up Form Tracking in Wingify
- Interpret a Form Analysis Report in Wingify
- Things to Consider While Working With Forms
- Track Form Submissions on Dynamic or Ajax Forms
Help-center sources (8)
- What is Form Analytics in Wingify
- Setting up Form Tracking in Wingify
- Use Form Analysis Dashboard in Wingify
- Interpret a Form Analysis Report in Wingify
- Things to Consider While Working With Forms in Wingify
- How to Track Form Submissions on Dynamic or Ajax Forms in Wingify
- How do I track a form that does not have an ID or a NAME in Wingify
- How do I track dynamic fields in Wingify